Textured Ceiling Installation and Repair by Mission Trueplane Drywall – Professional Quality Services
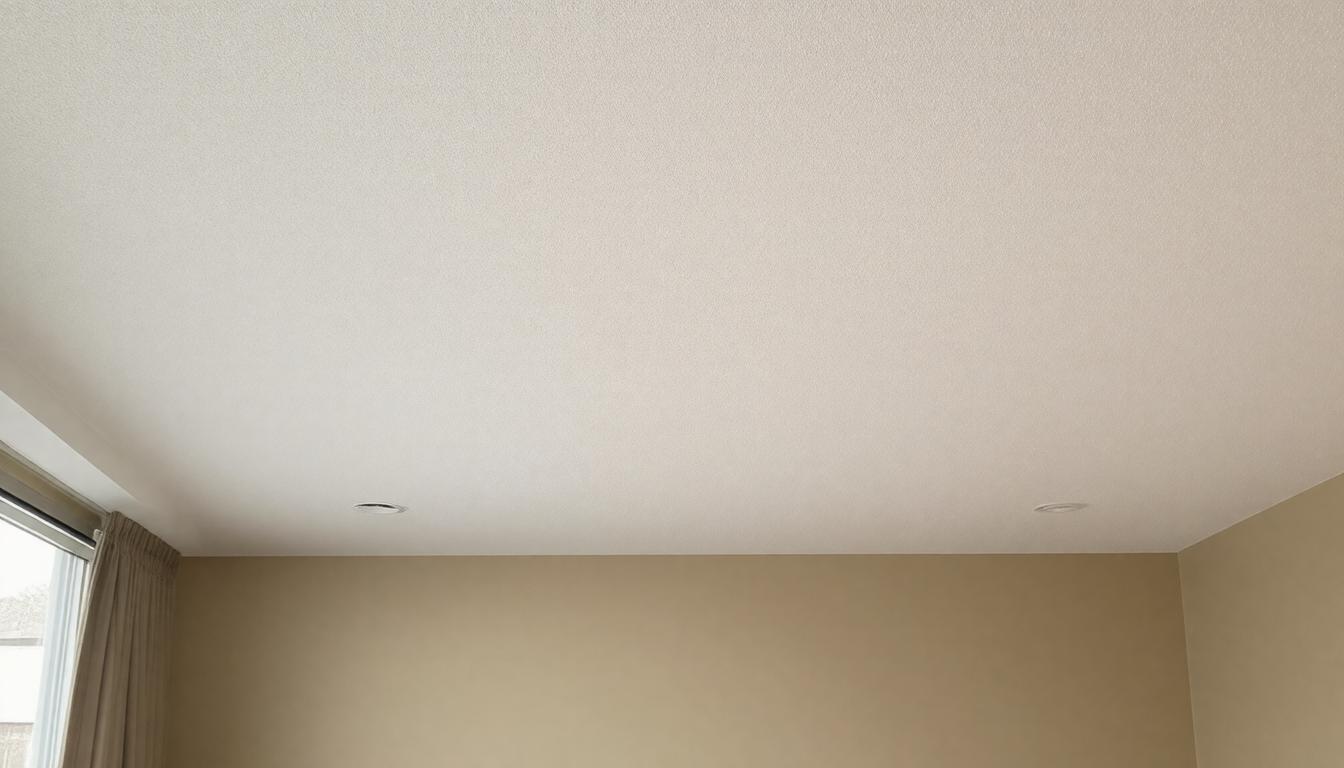
Drywall finishing might seem like a simple step in building or remodeling, but it’s actually where good walls become great. Whether you’re fixing up your home or outfitting an office, the quality of the finishing work, including the application of a skim coat, makes a big difference in how your walls look and hold up over time. Mission Trueplane Drywall specializes in turning rough drywall into smooth, ready-to-paint surfaces that stand the test of everyday wear and tear. Let’s explore why their approach to drywall finishing sets them apart from the rest.
Trueplane Drywall provides expert drywall finishing services in the Mission Trueplane Drywall area, including taping, mudding, sanding, and texturing to achieve smooth, durable walls ready for painting. With years of experience and a commitment to quality craftsmanship, Trueplane ensures your drywall surfaces look flawless and professional, especially after applying a thin layer of compound.
Tools and Materials Needed
Starting with drywall panels, opting for the standard 1/2-inch thickness is crucial because it strikes a perfect balance between weight and strength. Thicker panels might be unnecessarily heavy and harder to maneuver overhead, while thinner ones may not provide the durability your ceiling needs. It’s worth noting that the quality of drywall also affects how well texture materials adhere, so investing in good panels pays off.
Next, joint compound is the heart of any textured ceiling. This dense paste fills seams and forms the textured patterns that transform a plain ceiling into a visually interesting surface, enhancing its appeal as a type of ceiling. However, how you prepare this plaster compound matters—using a proper mixer ensures a smooth consistency without lumps, which directly impacts the quality of your finish for repair textured ceilings. Too watery, and it’ll drip; too thick, and it becomes difficult to spread evenly.
Speaking of spreading, trowels and knives aren’t just tools—they’re extensions of your hands when shaping textures. Using the right size and type for your chosen pattern can turn what looks like random smudges into deliberate artistry, especially when working with popcorn texture. The edges need to be clean and smooth between panels before applying texture, so having a few knives on hand lets you work efficiently.
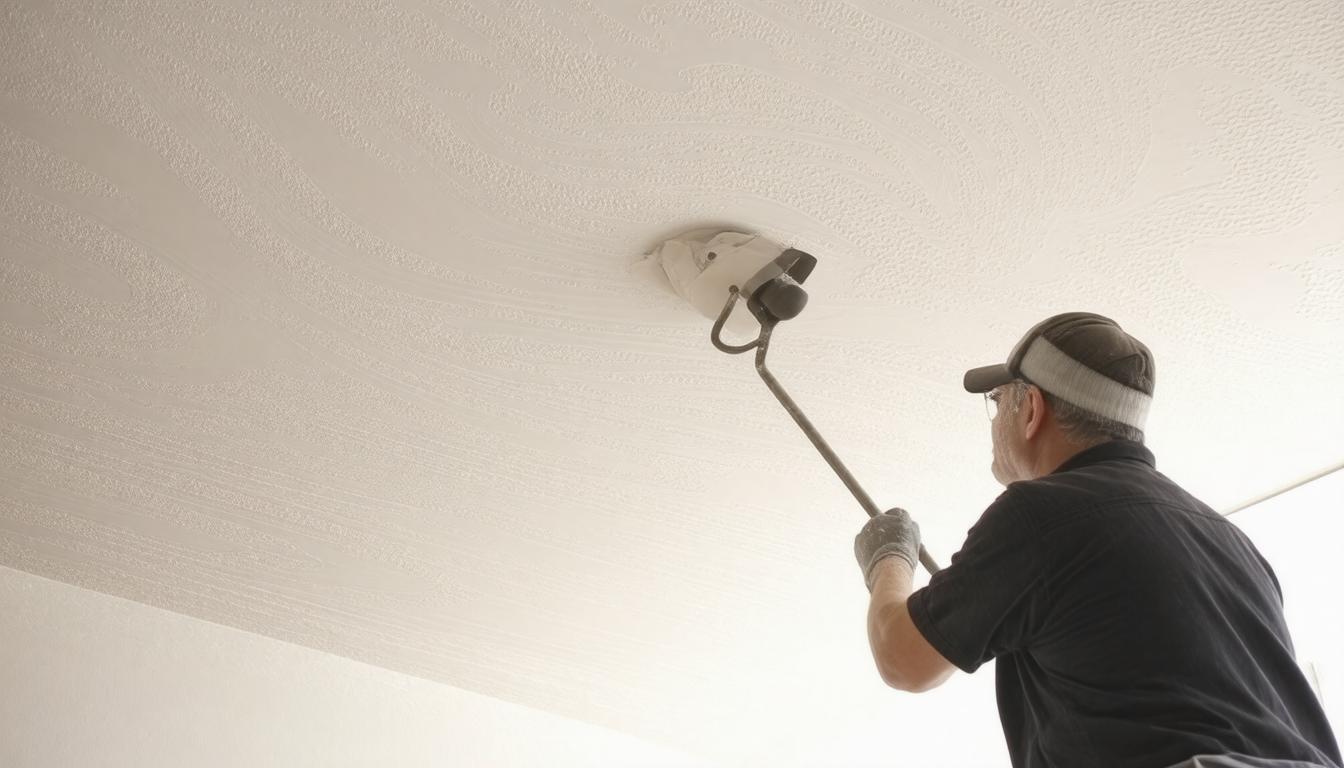
For larger projects or intricate patterns, the texture sprayer becomes invaluable. It atomizes the joint compound into fine droplets, creating consistent patterns over broad areas faster than manual methods. Yet using one requires some practice — uneven spraying can cause blotches or runs. Knowing when to spray versus when to hand-apply depends on your comfort level and the desired pattern detail.
Sandpaper rounds out the process by smoothing rough patches once the compound dries. Choosing the correct grit is key here: coarse enough to remove imperfections but fine enough not to damage delicate textures. Don’t underestimate this step—without careful sanding, even high-quality texture can appear unfinished or sloppy.
Finally, drop cloths and safe access equipment like ladders or scaffolding are sometimes overlooked but essential for protecting your workspace and ensuring your safety while working overhead. A well-covered floor makes cleanup far easier and safeguards furniture from dust and splatters that are inevitable in texture application. Likewise, sturdy ladders or adjustable scaffolding provide the stability necessary to reach every corner comfortably without risking injury.
When gathered thoughtfully, these tools don’t just support the job—they affect its outcome dramatically. Investing time in choosing the right materials and familiarizing yourself with their use lays a strong foundation for professional-quality textured ceilings that enhance any room’s character.
Understanding what tools and materials set the stage is just the beginning; knowing how to organize and prepare your space for ceiling services takes this knowledge from theory to practice. The upcoming details focus on how to ready both yourself and your workspace for seamless installation success.
Preparation Steps for Installation
The first and most immediate task is to clear the area completely. Furniture, decorations, and anything valuable must either be removed or thoroughly covered with drop cloths. This isn’t just about cleanliness—it’s about protecting your belongings from the fine dust and occasional splatters that come with working overhead, especially during repair textured ceilings. In my years helping homeowners, I’ve seen priceless heirlooms get ruined simply because this step was rushed or overlooked.
Once the space is cleared, it’s time to turn your attention upward. The ceiling surface can’t be textured properly if it’s uneven or contaminated. Any residual paint, old textures, or imperfections need careful removal. Sandpaper becomes your best friend here; running it evenly across the ceiling smooths out bumps and creates the right “tooth” for adhesion. I always recommend spending extra time on this phase because skipping it leads to patchy results later that no touch-up can easily fix.
Equally important is priming the ceiling—think of this step as setting a reliable base coat for popcorn ceiling repair before painting. Applying primer promotes adherence of the joint compound and texture materials, making sure they bond firmly rather than peeling away after drying. Without primer, you risk ending up with uneven patches and inconsistent texture depth, which undermines even the most skillful application efforts.
Consider it like painting a wall without an undercoat: the color may look blotchy, patchy, and downright amateurish. Primer provides that consistent base layer every texture job needs for a professional appearance, especially important in ceiling repair.
With these preparation steps completed thoughtfully, you create ideal conditions that make applying your textured ceiling much smoother and ultimately more successful in both look and durability.
Now that you understand how crucial proper preparation is, exploring how different techniques bring those textures to life will reveal why each method suits specific styles and needs perfectly, including small repair techniques.
Techniques for Texture Application
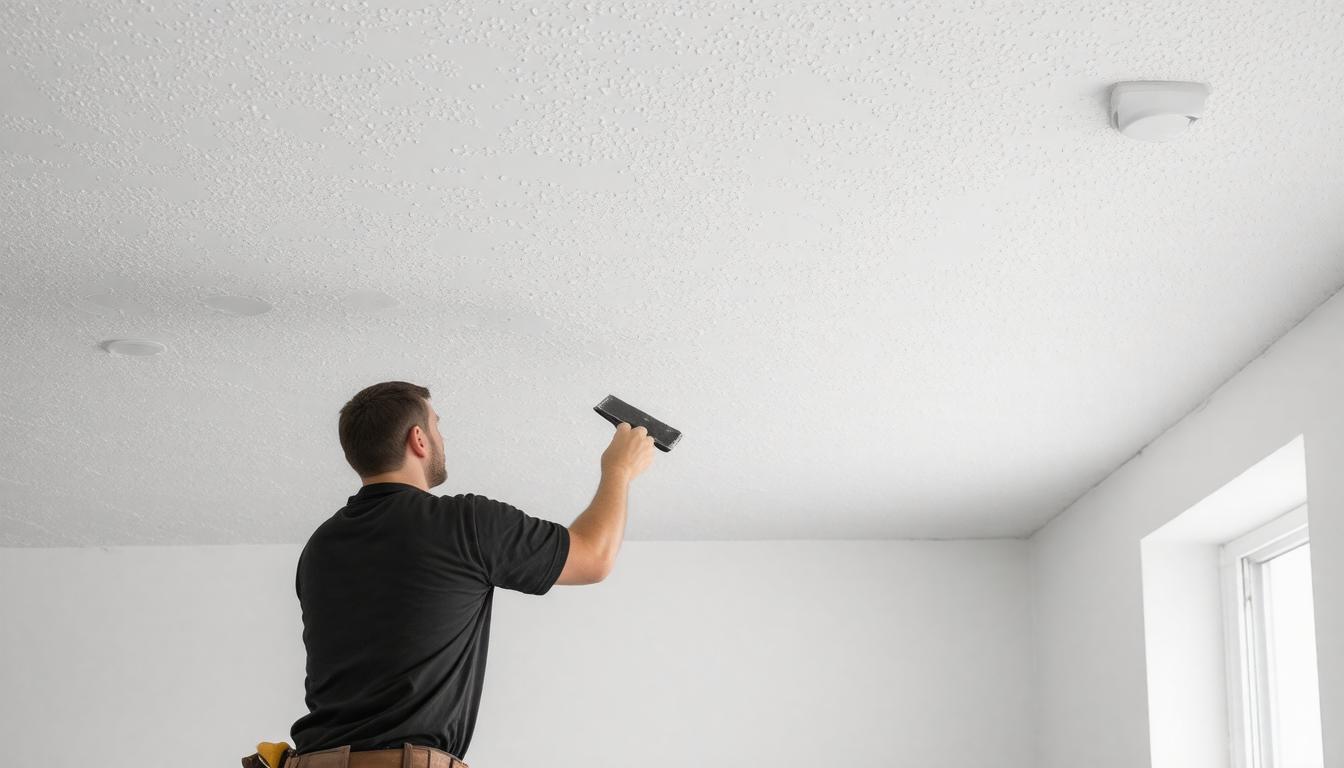
When it comes to ceiling texture, the application method largely defines not just the look but also the functional qualities of the finish. At Mission Trueplane Drywall, mastering these techniques ensures each ceiling is both beautiful and durable.
Let's start with knockdown texture, which has become a favorite for many homeowners. This method begins by spraying on a generous layer of joint compound, then waiting briefly for it to set—not fully dry. The magic happens when a trowel or wide drywall knife gently “knocks down” the peaks created by the spray. This flattens them irregularly, leaving a soft, mottled surface that cleverly masks any minor imperfections beneath while giving depth and sophistication to the ceiling. Its subtlety works well in spaces where you want texture without overwhelming the room, making it a popular choice among ceiling experts.
Moving from knockdown to something more nostalgic, the popcorn ceiling method harks back to mid-century design but still holds value for certain applications. The process mixes joint compound with lightweight Styrofoam particles before spraying it thickly onto the ceiling, a technique often used in popcorn ceiling repair.
The result is a bumpy, acoustic-friendly surface that deadens sound and hides flaws quickly, making it ideal for various ceiling texture types. However, popcorn ceilings have fallen out of favor due to their dated appearance and difficulty in cleaning or painting afterward. Still, they remain practical in basements or rental properties where soundproofing takes priority over modern aesthetics.
If your goal is a gentle texture that adds character without calling attention to itself, orange peel texture might be just right. This technique involves thinning the joint compound so it sprays on a fine mist of tiny bumps akin to an orange’s skin—a consistent pattern that's subtle yet visually interesting.
Orange peel strikes a balance between flat and heavily textured surfaces; it’s easy to paint over and clean, making it popular for modern homes seeking understated sophistication. We often recommend this option to clients who want their ceilings to blend smoothly with their décor while still hiding small imperfections effectively.
What ties these techniques together is careful control over materials and timing—from the thickness of the compound mix to how long you wait before knocking down or drying—in order to avoid cracking or an uneven finish. Each step demands patience and experience to get just right.
"Texture application isn’t simply slapping mud on a ceiling; it’s an art form that balances aesthetics with function," says one of our seasoned installers.
For those tackling textured ceilings themselves or working with contractors, understanding these options helps guide decisions toward what suits your space best—whether that’s sound dampening in family rooms or sleek ambience in living areas. Preparation sets the stage, but technique defines your ceiling’s personality.
Having explored various texture methods and their impacts on both appearance and function, we now turn our focus toward adding those final elements that perfect any drywall project—details that transform good work into truly exceptional results.
Applying Finishing Touches
One of the most important final steps is carefully removing any excess texture from the edges of the ceiling. This isn’t just about aesthetics—it creates a crisp, professional boundary where the ceiling meets walls or molding, framing the space perfectly, which is vital in ceiling repair.
Using a putty knife or scraper, you gently work along these edges to peel away loose compound or drips without harming the underlying surface. It takes patience and a steady hand, but this precision prevents future chips or cracks along those vulnerable margins.
After clearing the edges, waiting patiently for the texture to dry fully is key before moving on to any ceiling repair tasks. Once dry, sanding becomes your best friend in softening rough spots that could catch dust or become visually distracting, especially when preparing for ceiling repair.
Opt for fine-grit sandpaper and apply just enough pressure to smooth imperfections while preserving the textured design beneath. Overzealous sanding reduces the dimension that defines textured ceilings, so taking it slow here safeguards the artistry you’ve crafted.
Painting Your Textured Ceiling
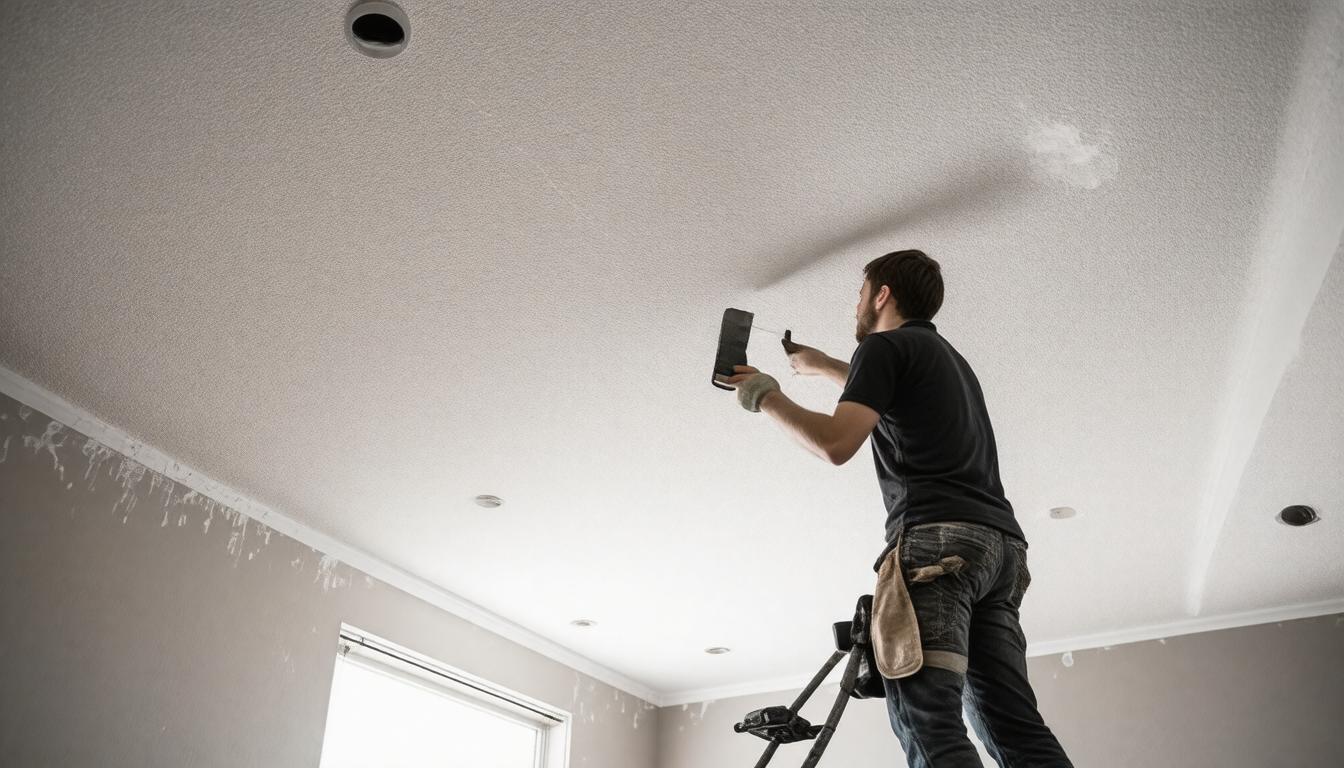
Painting a textured ceiling demands both technique and tools tailored to its unique surface. Thicker naps on rollers—generally 3/4 inch or more—allow paint to reach deep into crevices while preserving texture height and pattern definition.
Applying at least two coats ensures even color saturation across every peak and valley of the texture, preventing patches or thin coverage that diminish visual impact. Take care not to overload your roller with paint; too much pressure flattens textures and robs them of their signature look.
Using a high-quality primer beforehand can also help paint adhere better, especially if texture was applied over drywall mud or repairs. This step enhances durability and longevity—critical when ceilings demand both style and resilience against humidity or wear, particularly in areas prone to water damage.
In some cases, flat or matte finishes work best by hiding minor imperfections yet keeping a soft ambience in rooms; however, semi-gloss paints provide easier cleaning surfaces if you expect more traffic or kitchen use nearby.
Mastering these finishing techniques sets the stage for proper upkeep, ensuring your textured ceiling remains a stunning focal point as time goes on.
Caring for Your Textured Ceiling
Proper care and maintenance of a textured ceiling can significantly extend its lifespan and keep it looking fresh. Unlike smooth ceilings, textured surfaces have nooks and ridges that naturally collect dust and grime, so a proactive approach is necessary to prevent buildup.
Regular upkeep isn't just about appearance—it helps avoid premature wear or the need for costly repairs down the road.
Regular Dusting
One of the simplest yet most effective ways to maintain texture integrity is monthly dusting. Using a long-handled duster or a vacuum with a soft brush attachment lets you reach high ceilings safely without risking damage.
When dust accumulates over time, it dulls the look and can even attract moisture, weakening the material beneath. By removing dust gently and consistently, you preserve both the visual appeal and structural soundness.
Resist the urge to scrub hard; textured ceilings are delicate, and aggressive cleaning can cause flakes or chips, leading to the need for ceiling repair.
Dealing with Stains
Stains are inevitable in any home, but textured ceilings require delicate handling.
For small spots or discoloration, lightly moisten a cloth with mild detergent diluted in water and gently blot—never rub—the affected area. Excessive water is the enemy here; soaking the surface can soften and damage the texture, leading to crumbling or sagging patches that require repair services.
It’s best to act quickly once you notice stains from smoke, cooking grease, or water leaks to prevent permanent marks.
Handling Repairs
Over time, even well-cared-for ceilings might develop minor cracks or chips due to settling or accidental bumps, making ceiling repair necessary.
Thankfully, many small blemishes are simple fixes. Applying a modest amount of joint compound with a putty knife allows you to fill in imperfections.
The key lies in texturing this patch carefully to blend with the existing pattern—either by using specialized sponges or stippling brushes—and then matching paint color perfectly after it dries.
For those hesitant about DIY repairs, Mission Trueplane Drywall offers professional ceiling repair services ensuring your ceiling looks seamless without mismatched patches visible to the eye.
Understanding how to care for and repair your textured ceiling opens up new possibilities for maintaining your home's aesthetics and value. Next, we explore what clients have experienced while working alongside Mission Trueplane Drywall’s skilled team.

Customer Experiences with Mission Trueplane Drywall
At Mission Trueplane Drywall, the satisfaction of our customers forms the foundation of everything we do. Each project is more than just a job—it's an opportunity to transform a space and, ultimately, improve someone's daily life. This commitment shines through in the feedback we receive, which tells stories of professionalism, attention to detail, and outcomes that not only meet but often exceed expectations.
Take Sarah M.'s experience, for instance. She described how her living room ceiling was completely transformed with our knockdown texture application. What made this especially meaningful was the harmony between aesthetic beauty and the smooth workflow maintained by our team. The balance of efficiency with respect for her home highlights why many trust us for both quality and care in their textured ceilings.
John T.'s reflection brings forward another crucial aspect—cleanliness. It’s one thing to deliver flawless workmanship, but leaving your home neat and orderly after the job is done speaks volumes about our professionalism. Mission Trueplane’s crews understand that respecting your living space is as important as the drywall work itself; this holistic approach reassures clients that hiring us means fewer worries during renovation.
Beyond testimonials lies a deeper story in projects like the renovation of a century-old house, showcasing the expertise of ceiling experts. This wasn’t merely about applying texture—it involved understanding architectural history, balancing preservation with modern design trends, and custom tailoring solutions to fit unique aesthetics. Our team's patience and precision in executing this delicate blend demonstrate expertise in drywall repair that many clients appreciate but often don’t see upfront.
For homeowners seeking textured ceilings, these experiences suggest choosing a drywall service that values communication, respects your space, and delivers expert craftsmanship tailored to your home's personality. It's about more than style; it’s about ensuring longevity and ease of maintenance in every finish.
Drawing from stories like these can help you make informed decisions when considering textured ceiling installation and give you confidence that Mission Trueplane Drywall will handle your project with the care it deserves.
Customer trust is earned through consistent quality, respect, and expertise—qualities Mission Trueplane Drywall embodies in every installation of damaged textured ceilings. By choosing us, you’re investing in both professional results and peace of mind throughout your home improvement journey.