Mission Trueplane Drywall for Taping Drywall Service: Quality & Reliable Solutions
When you think about drywall, what probably comes to mind is just the plain walls in your home. But behind those smooth surfaces lies a careful process of mudding that makes them look great and last a long time, especially when using the right sandpaper for finishing touches. Drywall taping, in particular, is one of those behind-the-scenes steps that many people overlook—yet it’s crucial for strong, crack-free walls. Mission Trueplane Drywall knows this well, and their detailed approach turns ordinary taping into an art form that keeps your walls looking fresh and sturdy for years.
Mission Trueplane Drywall provides expert drywall taping services including seam finishing, joint compound application, and surface preparation for painting or wallpapering. Their skilled team ensures smooth, durable finishes that enhance the overall quality and appearance of your walls and ceilings.
Mission Trueplane Drywall Taping Service
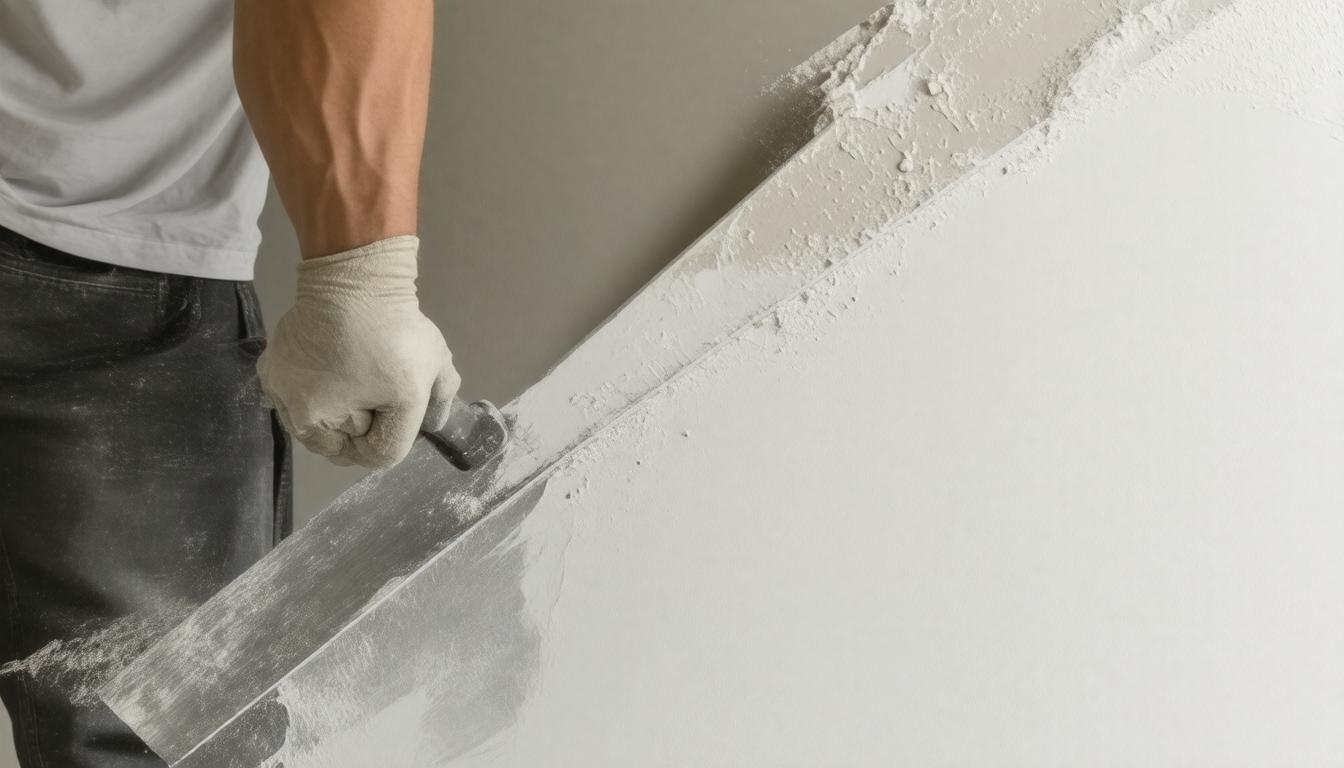
One of the defining features of Mission Trueplane Drywall’s service is our commitment to precision in every tape and coat we apply. Drywall taping may seem straightforward—just covering seams—but it is actually a craft that demands attention to detail and deep knowledge of materials.
We don’t just slap tape on joints; we carefully embed it with the right amount of joint compound, ensuring no bubbles or wrinkles form that could later cause cracks or uneven surfaces.
This meticulous approach isn’t just about aesthetics—it directly impacts the durability of the drywall. A smooth, well-taped wall holds paint better, resists moisture intrusion, and stays crack-free over time. Our experience with historic renovations shows that precision taping preserves structural integrity while honoring the original craftsmanship of older buildings.
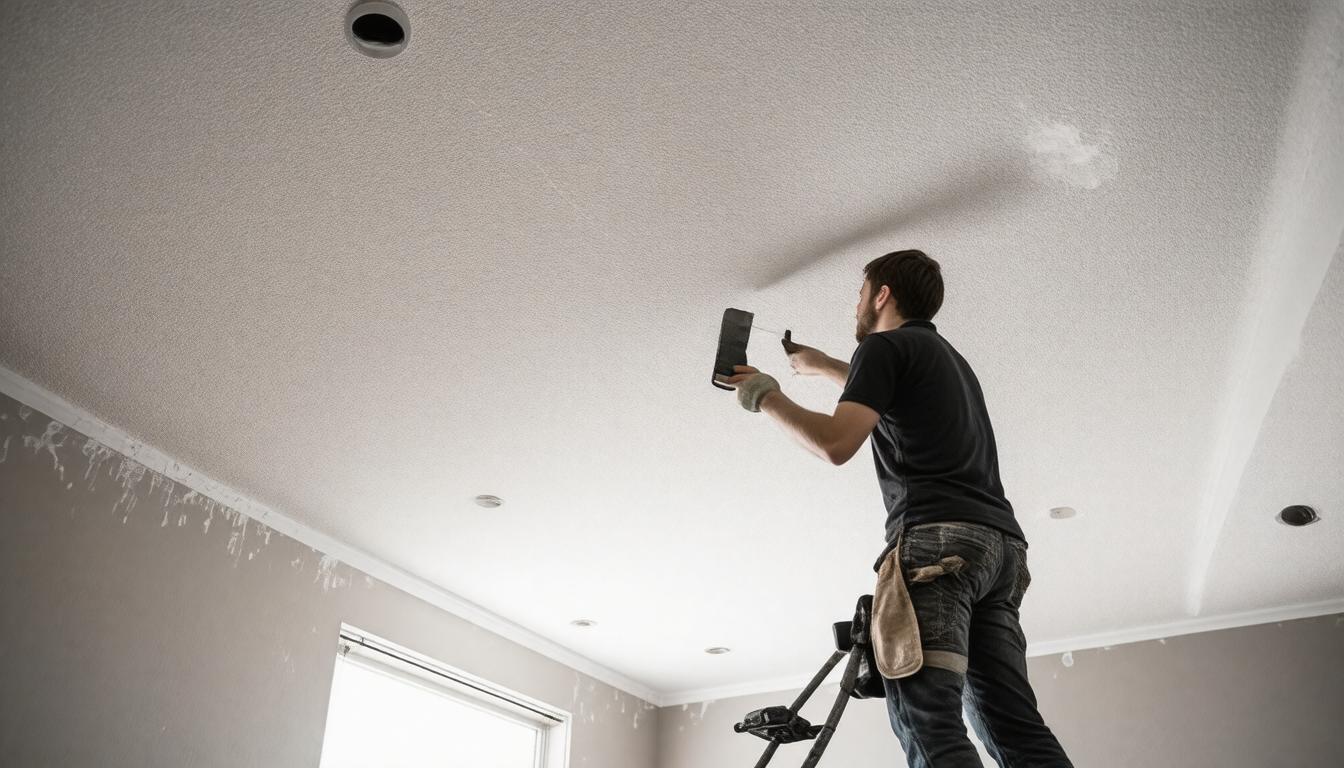
Beyond technique, our team understands how different environments require tailored solutions. For example, taping in a humid basement needs specific compounds that resist mold and mildew, while ceilings often demand a lighter mix to prevent sagging. That level of expertise lets us adapt to each project’s unique challenges, such as dealing with screw holes, instead of applying one-size-fits-all fixes.
Given that 85% of drywall installation problems originate from poor taping, choosing specialists like Mission Trueplane Drywall can save clients time and costly repairs down the road. It is not uncommon for improperly taped joints to develop visible cracks within months or produce textured flaws that mar freshly painted walls.
Many homeowners mistakenly view drywall taping as a quick “paint prep” step, but our professionals see it as the foundation of any successful finish, especially when using mesh tape. Striking the right balance between speed and quality means no shortcuts—three coats are standard, each sanded perfectly before applying the next layer. This staged process ensures exceptional smoothness and strength.
What truly sets Mission Trueplane Drywall apart is our dedication to customer satisfaction combined with exacting craftsmanship. We engage clients throughout the process, explaining choices of materials and techniques in simple terms so they feel confident every step of the way. This transparency builds trust and guarantees results aligned with expectations.
If you want your drywall to look flawless and stand the test of time, prioritizing professional taping is essential. Mission Trueplane Drywall's seasoned team brings both skill and care to ensure your walls don’t just look good once but maintain their finish for years without cracks or imperfections.
With such unwavering commitment to quality and personalized service, it's natural to next consider how this expertise translates into an overall professional approach that covers every aspect of drywall installation.
Expertise and Professional Approach
Our team is built on decades of hands-on experience, combining over 50 years of work in both residential and commercial drywall projects. This depth of expertise means we don’t just tape seams—we understand the nuances of drywall taping and mudding that make a job truly stand out. For instance, perfect taping requires more than simply covering joints; it demands precision to prevent cracks, create smooth surfaces, and ensure durability that withstands everyday use. This skill isn’t accidental; it's developed through rigorous training and countless hours on various job sites.
A satisfied client, Jane Sullivan, shared, “Mission Trueplane Drywall transformed our unfinished basement into a cozy, livable space. Their attention to detail was extraordinary.” That kind of praise reflects not only our craftsmanship but also the care we put into every step, from prep work to the final coat.
| Skill | Description |
|---|---|
| Precision Taping | Ensuring all joints, corners, and seams are flawlessly finished to avoid future cracking or peeling. |
| Efficient Workflow | Balancing speed and quality by maintaining tight schedules without cutting corners or rushing the process. |
| Customer Interaction | Providing frequent updates and consultations to keep clients informed and involved throughout the project. |
This combination of skills is what makes our approach consistently successful. An efficient workflow means your project progresses steadily—no unnecessary delays—while precision ensures the result is something you can proudly show off for years. We believe that maintaining open communication with clients throughout the process is just as important as what happens behind the scenes. It’s about building trust and making sure your vision aligns with our execution.
Every drywall project brings its own set of challenges—from unusual room layouts to specific aesthetic requests involving sheets of drywall. Recognizing this reality allows us to adapt quickly, tailoring our techniques and materials to meet particular needs rather than applying a one-size-fits-all solution. This flexibility reflects our commitment not just to getting the job done but to getting it done right.
If you’re considering drywall work, one tip from our experience is to prioritize teams who demonstrate both technical mastery and clear communication skills. These two elements together minimize surprises and maximize satisfaction with the final result. At Mission Trueplane Drywall, that balance is central to how we operate every day.
Understanding these core strengths gives valuable context for the detailed steps involved in our approach. With this foundation in place, we'll now explore how these principles come alive throughout the entire taping process.
Step-by-step Taping Process
The foundation of any drywall finishing job lies in a comprehensive taping approach that goes beyond just sticking tape to seams. At Mission Trueplane Drywall, our complete taping process is a blend of careful inspection, skillful application, and thoughtful layering — each step critical to achieving that clean, polished look every client deserves.
Step I - Initial Assessment
The process begins long before any compound or tape touches the wall. A thorough inspection of the drywall installation is essential. We look for uneven edges, gaps, or areas where the boards may not align perfectly. This initial assessment helps identify potential weak points that could lead to cracks or visible imperfections down the line.
Think of it as priming the stage for the rest of the performance — without a solid start, including properly feathering the edges, no finish will hold up well.
Once this evaluation is complete and adjustments are made as needed, we move seamlessly into preparing those joints for their first layer of protection.
Step II - Sealing Joints
The next phase involves sealing the joints with a carefully applied layer of joint compound. This isn’t just about slapping on mud; it’s about creating an adhesive bed that will both secure the tape and prepare surfaces for smooth blending.
Using precise amounts helps avoid excess buildup that could later cause unevenness. This step requires a balance between coverage and control: too little compound means poor adhesion; too much and you risk unnecessary sanding work down the road.
After sealing, this sticky foundation is ready to firmly hold the tape in place—a critical juncture where durability truly begins to form.
Step III - Embedding Tape
Next comes embedding the tape into that freshly applied compound using a drywall knife for precision. Here, using a taping knife with steady, confident motions, we press the tape down until it becomes flush with the drywall surface.
Proper embedding eliminates air bubbles and ensures strong bonding—avoiding the classic cracks and bubbles many less experienced crews leave behind. It’s a tactile process; feeling when the tape sits right beneath your tool tells you this step was done correctly.
With paper tape securely embedded, attention turns to refining and perfecting the surface through additional layers of mudding.
Step IV - Applying Additional Layers
The final stage involves layering more joint compound over the taped seams.
Each layer is carefully spread, feathered outward, then sanded smooth after drying. This progression gradually hides all signs of tape and seams until only pristine wall remains visible, thanks to the careful application of tape and mud. It demands patience and an eye for detail because uneven sanding or rushed application can undo all previous efforts.
Our craftsmen know how to pace these layers just right — not too thick to invite cracking nor too thin leaving visible lines behind.
This meticulous routine doesn’t merely cloak imperfections; it builds longevity so your walls can stand strong — reliable and flawless for years ahead.
Now that you understand how critical each stage of taping is to creating durable drywall finishes, we can explore techniques that make walls effortlessly smooth and visually appealing.
Smooth Wall Techniques
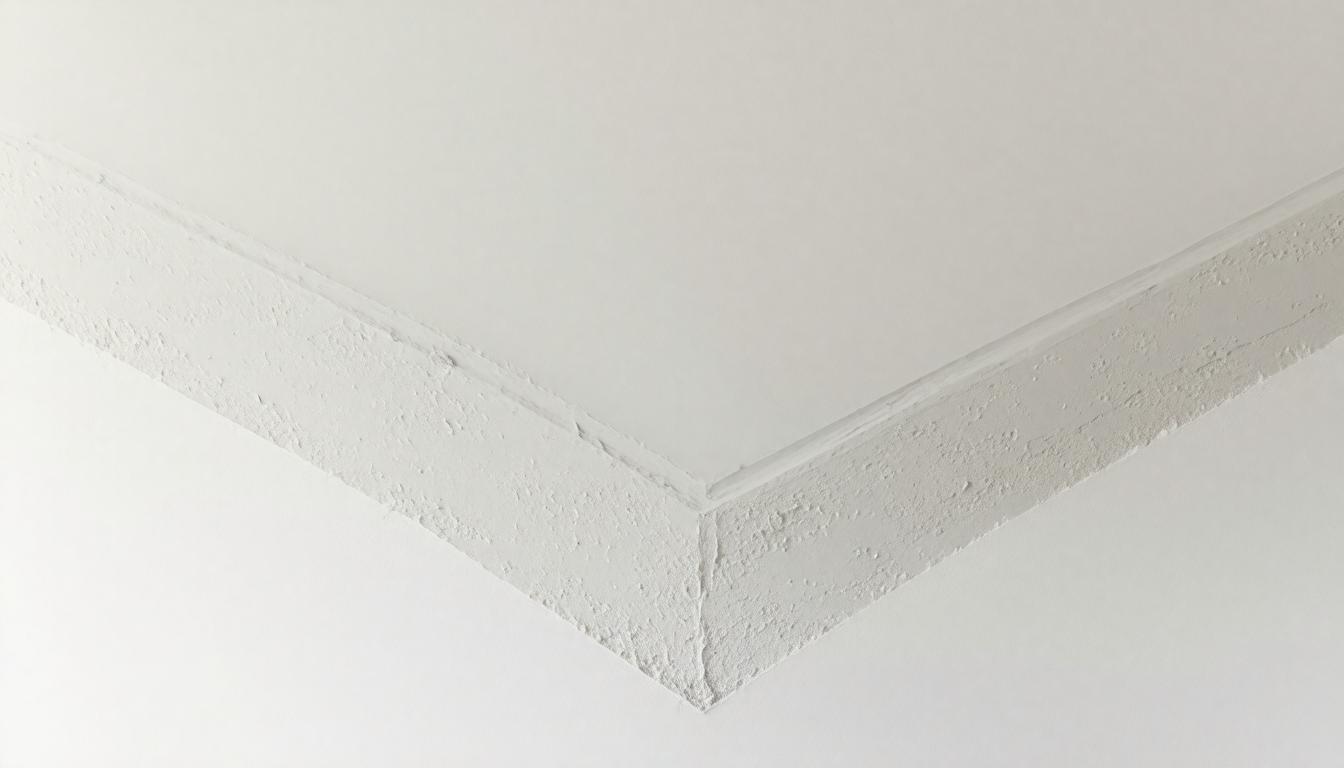
Achieving a truly smooth wall finish isn't just about slapping on drywall compound and hoping for the best; it's a combination of careful application, expert technique, and knowing when to stop. One key concept that professionals rely on is feathering the compound—this means tapering the edges of each layer so they blend seamlessly into the drywall surface without harsh lines or ridges. It's a subtle art but critical for making your walls look flawless.
Feathering begins with your choice of tools, and often a 12-inch taping knife is ideal for the final passes in the tape and mud process. This wider blade allows you to spread the compound thinly while controlling its texture, making it easier to feather the edges. When held at the right angle and moved with steady pressure, it softly fades the edge of the mud into the wall, creating a gentle gradient much like blending paint colors so no abrupt boundaries remain.
Imagine you're painting a sunset sky—you wouldn't want two blocks of orange and pink side by side, just as you wouldn't want uneven mudding on your drywall. Instead, you'd blend them carefully to form a smooth transition. The same principle applies here: feathering prevents noticeable lines between patched areas and untouched drywall.
It can be tempting to sand aggressively to speed up smoothing, but over-sanding leads to depressions and uneven surfaces that are harder to fix later. Instead, use light sanding between coats or even better—apply additional thin layers of mud where needed to build a uniform surface gradually.
Another insider insight is to avoid skimping on drying time between coats. Each layer should dry fully before applying the next. Rushing this step can cause bubbling or cracking, which ruins that smooth effect you're aiming for, especially if the second coat is applied too quickly. Patience pays off as every additional coat refines imperfections subtly.
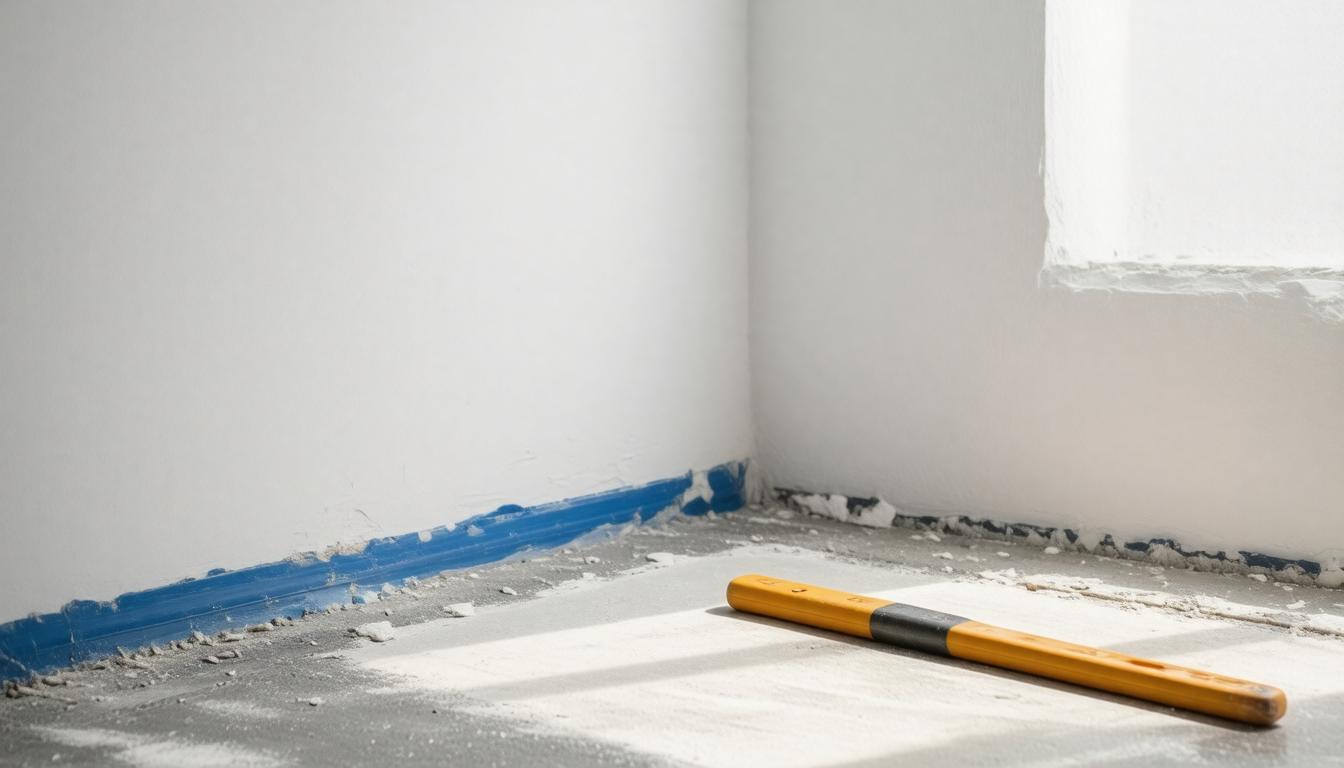
Finally, lighting matters during inspection—a low-angle light placed near the wall reveals high and low spots, as well as any common mistakes, more clearly than overhead lighting does. Taking time under proper lighting to check your work ensures you catch any rough patches before painting, preventing common mistakes.
Smooth wall finishes demand an attentive hand and thoughtful process—from feathering with broad knives to gentle sanding and proper curing times. These techniques transform taped joints from obvious lines into invisible canvas ready for paint.
Understanding how to perfect these foundational steps sets the stage for exploring the variety of surface textures and finishes that bring walls to life with character and depth.
Texture and Finish Options
Textured drywall finishes are more than just decorative touches—they can transform the feel of an entire room while also helping to hide minor imperfections in the wall surface. When you explore options like knockdown, orange peel, or skip trowel, you’re choosing not only a look but also a practical solution that influences maintenance and longevity of your tape drywall seams.
Each texture brings its own character: knockdown offers a slightly flattened, rustic vibe reminiscent of Mediterranean architecture, while orange peel imparts subtle dimensionality without overwhelming the space with roughness. Skip trowel gives walls an artisanal, old-world charm that captures light and shadow in interesting ways.
These textures aren't just about appearance; they affect how light interacts with your walls and even how sound travels in a room. For example, rougher finishes scatter light unevenly, softening harsh shadows and creating a cozy atmosphere, which can be enhanced by the right application of tape and mud. This is why many homeowners find textured finishes ideal for spaces like living rooms or family areas where warmth matters most.
Texture can also influence how easily dirt or fingerprints show up—orange peel patterns might better mask small smudges compared to flat paint jobs.
Understanding these tactile and visual nuances is key when deciding which finish suits your home best, but there’s another layer to consider: how each texture aligns with your lifestyle and upkeep preferences.
While smooth walls invite sleek modern aesthetics, they require more careful upkeep since every imperfection stands out. Textured walls, conversely, give you some leeway by camouflaging hairline cracks and minor damages. This means they often hold their charm longer in busy households or commercial settings where wear and tear is inevitable.
But it’s important to weigh this benefit against your cleaning routine—rougher textures can trap dust and require occasional gentle vacuuming or dusting to maintain their look.
- Maintenance Considerations: Flat walls may need frequent touch-ups; textured walls demand regular dust removal.
- Durability Factors: Textured finishes resist scratches and dents better than smooth ones.
- Style Compatibility: Some textures suit traditional designs; others work well with modern interiors.
Ultimately, the choice between smooth and textured isn’t merely aesthetic—it reflects your day-to-day life in that space. When you choose wisely, your finish will enhance both form and function, supporting your vision for the room and standing up to whatever life throws at it.
Critics sometimes say textured walls feel outdated or too “busy,” yet these same textures have cyclical popularity in design trends and remain beloved for striking a perfect balance between beauty and practicality. Many contemporary homes now embrace selective texturing as a way to add warmth without compromising minimalist ideals.
Selecting the right drywall finish means balancing visual preference with how much care you want to invest over time—making this decision both an art and a thoughtful assessment of daily living needs. Next, we shift focus to address the common challenges that may arise post-installation and how best to manage them effectively.
Handling Repairs and Issues
Every home eventually faces drywall repairs, ranging from tiny nail holes to more serious problems like water damage. At Mission Trueplane Drywall, we understand that repairs are just as essential as new installations or taping work. Neglecting even minor damage, such as screw holes, can lead to bigger headaches down the line, so taking swift and thorough action is crucial.
The process begins with a careful diagnosis of the problem’s root cause. For example, spotting water damage isn’t enough; identifying whether it stems from a plumbing leak, roof issue, or condensation helps prevent recurring damage after repairs are complete. This step saves homeowners time and money by addressing underlying concerns upfront instead of repeatedly fixing the same spot, particularly when it comes to tape and mud drywall issues.
Once the source is identified and resolved, our next focus is removing the damaged drywall section with precision, preparing it for new sheets of drywall and tape drywall seams. We don’t just cut out the visibly ruined patch—we ensure clean, straight edges that provide a solid foundation for the replacement piece. This detail matters because an uneven gap can compromise the strength and appearance of the repair over time.
Installing new drywall follows these careful cuts, fitting the replacement snugly so it sits flush with the surrounding wall. It's like piecing together a puzzle—you want every edge aligned perfectly to create that seamless canvas before moving on to finishing touches.
Finishing a repair involves taping all seams meticulously, applying joint compound in thin layers, then sanding it smooth once dry. These stages demand patience and skill—too thick or uneven applications can cause visible bumps or cracks later on. Sanding isn’t just about smoothness; it’s about preparing the surface so paint or texture blends flawlessly and restores the wall’s original look.
This combination of diagnosis, removal, careful replacement, and attentive finishing defines quality drywall repair. It’s not simply patching a hole; it’s restoring integrity both structurally and visually through proper tape and mud techniques.
Many clients appreciate this thorough approach to drywall taping and mudding. John Davidson shared his experience: “I had a significant water leak that wrecked my wall, but after Mission Trueplane Drywall handled it, you wouldn’t even know it happened.” This level of reliability and finish is what our team strives for every time.
When dealing with drywall issues yourself or hiring help, remember that properly identifying causes first, such as butt joints, saves frustration later on. Also, demanding precise cuts and professional finishing will keep your walls durable and looking their best long term.
Beyond repairs, staying proactive with routine inspections often catches problems early—keeping your drywall in top shape without costly surprises emerging unexpectedly, especially when you regularly check the drywall seams.
Quality Assurance and Customer Promise
At Mission Trueplane Drywall Taping, quality assurance isn’t just a checklist—it’s embedded into every stage of our service. From the moment taping and finishing are complete, our team conducts a thorough initial inspection. This careful examination looks for any signs of imperfections such as uneven seams, missed spots, or textural inconsistencies. These details might seem minor, but they make all the difference between an average job and a flawless finish that stands the test of time.
After this internal review comes one of the most critical moments in our process—a customer walkthrough. Inviting clients to see the work first-hand is not only about transparency but also about collaboration in the home improvement process. It allows us to explain precisely what has been done, pointing out the craftsmanship and materials used. More importantly, it provides customers the chance to voice any concerns or preferences before we conclude the project. We’ve found this dialogue builds trust and often uncovers subtle adjustments that turn a good job into a great one.
But our commitment doesn’t end when the final nail is hammered or the last wrinkle smoothed out. One hallmark that sets Mission Trueplane Drywall apart is our follow-up visit, scheduled shortly after the job’s completion. This step ensures that everything continues to meet the high expectations set initially. If any issues arise—whether it’s slight settling cracks or unexpected wear—we address them promptly and efficiently without hassle or added cost.
This triple-layered approach has earned us a remarkable 97% customer satisfaction rate, a figure we don’t take lightly. It reflects not just the skill of our drywall tapers but also the value our clients feel from reliable communication and attentive service throughout their project.
"Choosing a drywall contractor can be daunting, but with Mission Trueplane Drywall Taping, you’re not just hiring labor—you’re investing in peace of mind backed by proven quality."
Ultimately, this dedication to quality assurance embodies our customer promise: that each wall we finish will meet both professional standards and your personal expectations—every time.
With Mission Trueplane Drywall Taping, you gain more than skilled craftsmanship—you secure a partner committed to lasting quality and your complete satisfaction.